Overview
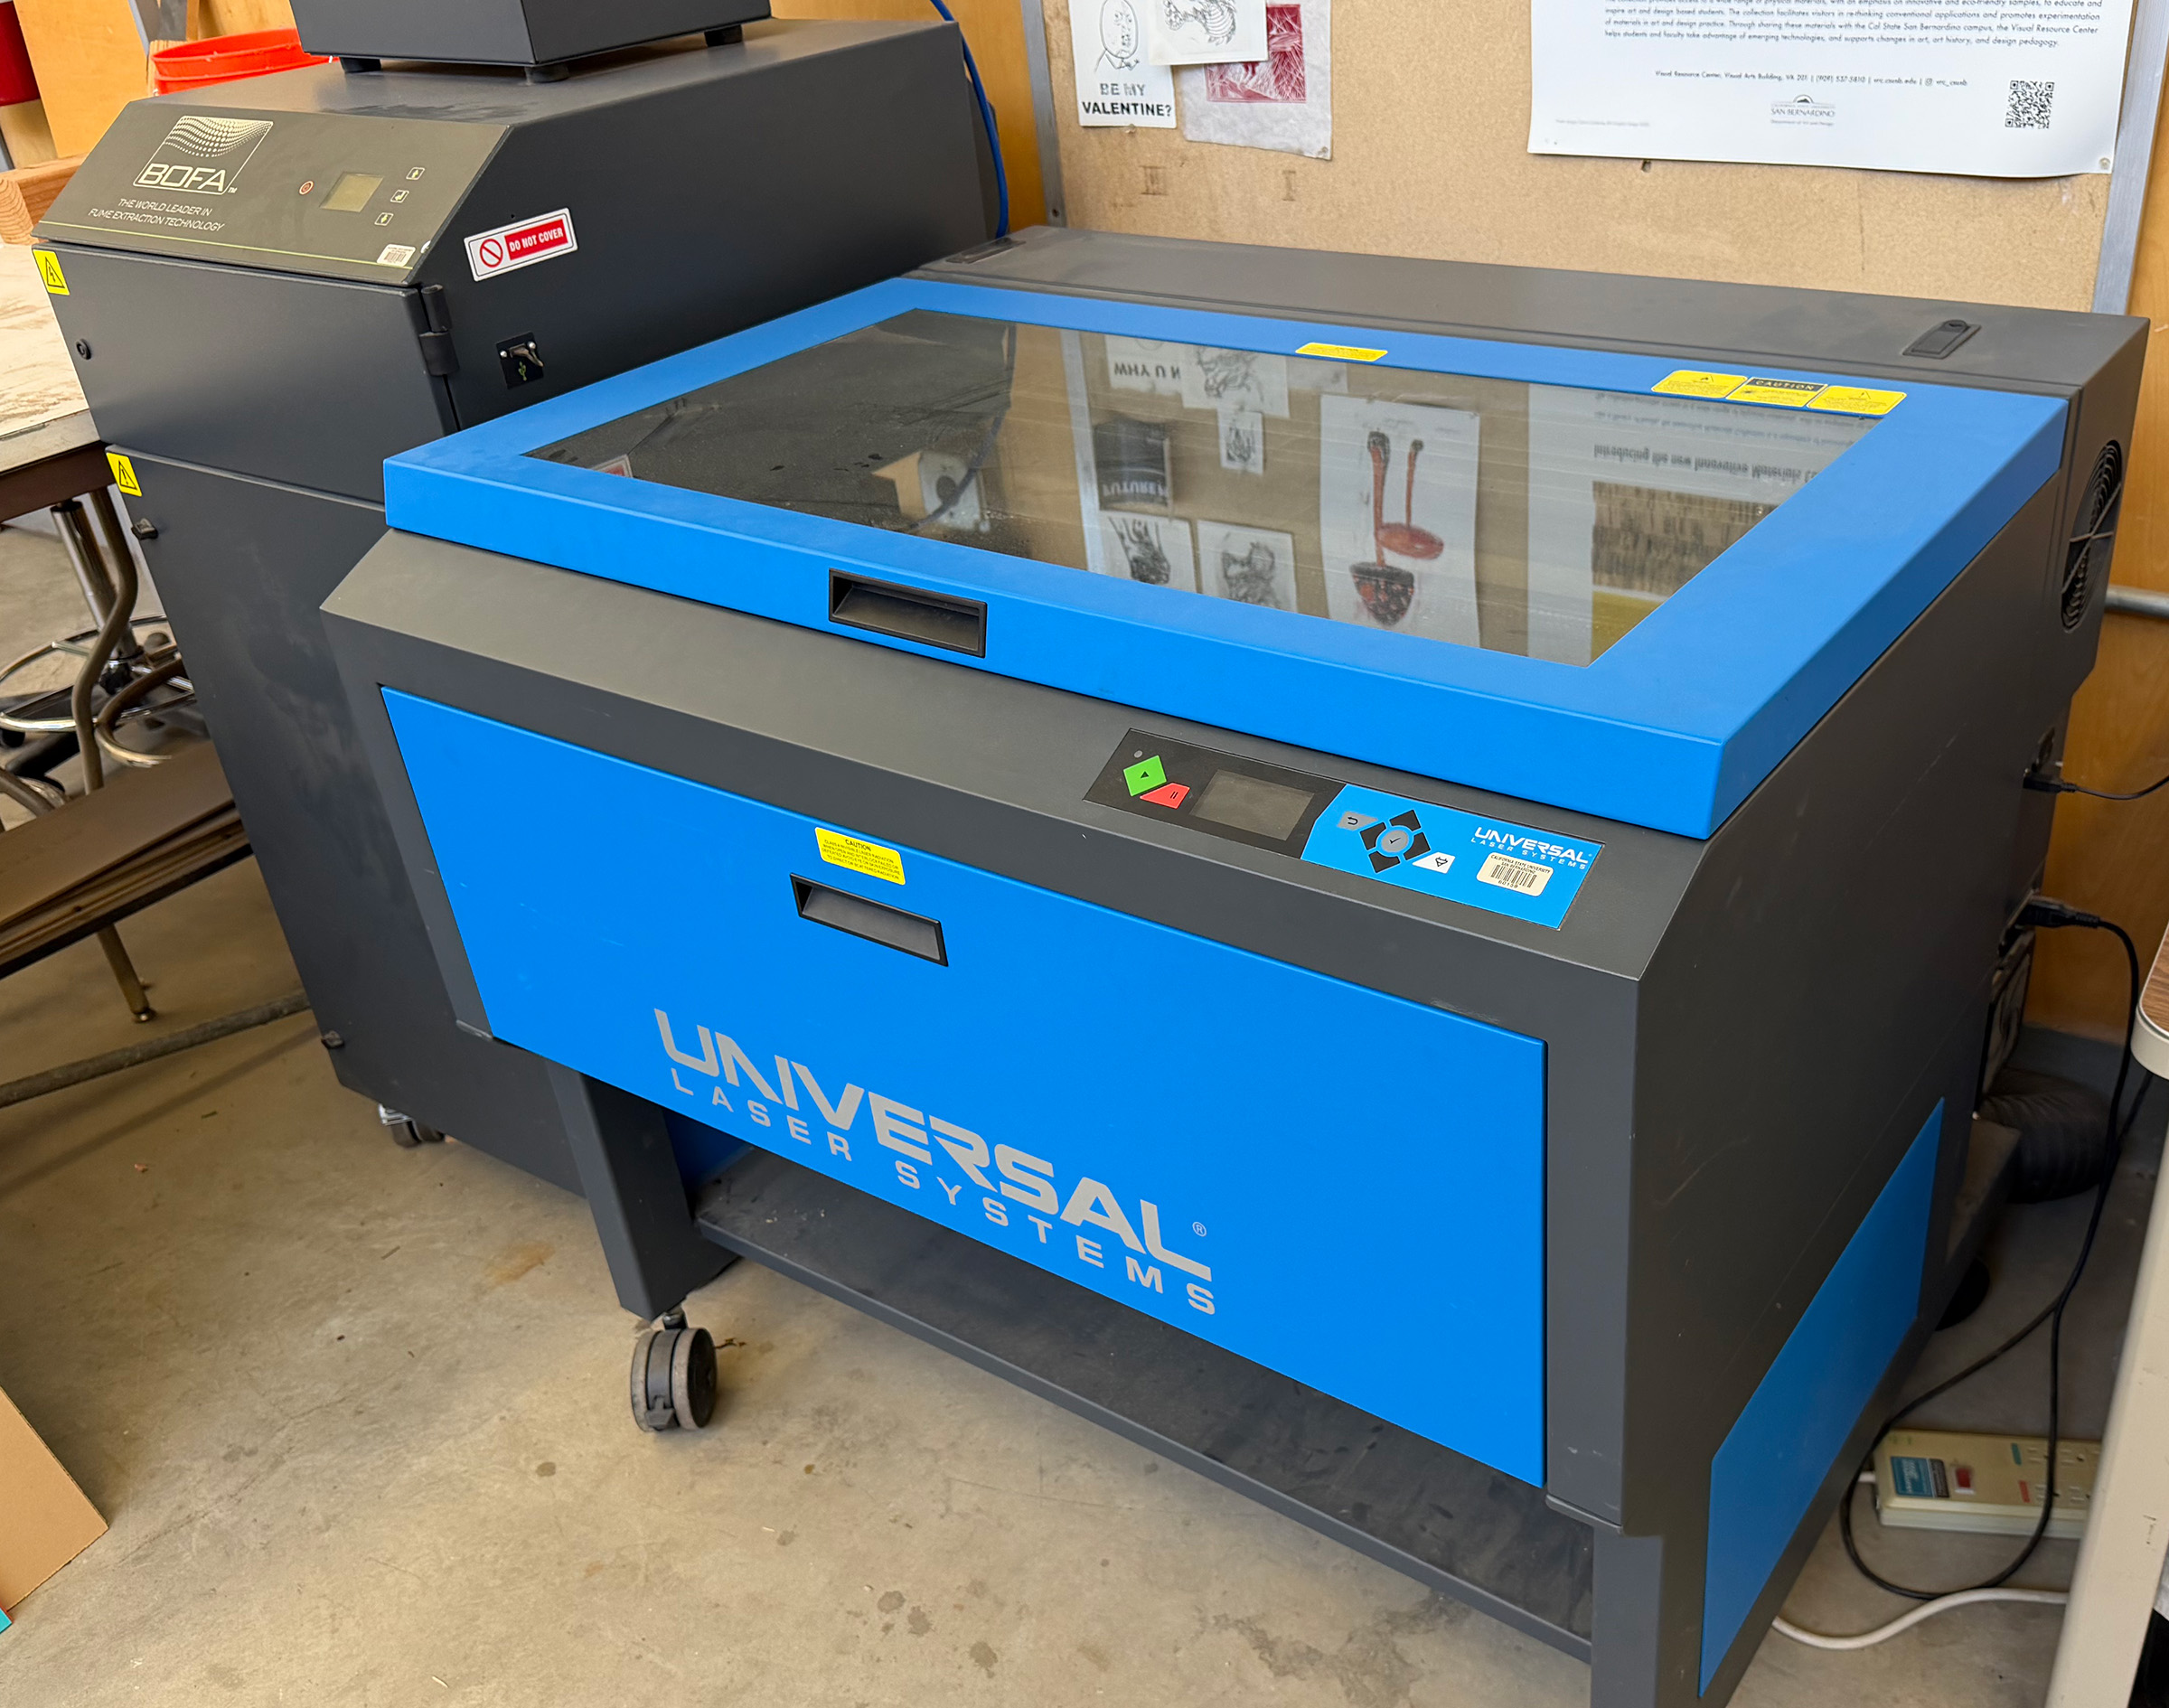
Laser cutters are powerful digital fabrication tools that use a focused beam of light to cut through or engrave the surface of a wide range of materials. You can laser cut and engrave acrylic, wood, cardboard, leather, and fabric.
In this project you will learn the fundamentals of operating the machine safely and preparing vector files in Adobe Illustrator for cutting.
Your Project Tasks
1. Prepare Your Design File
Create a file in Illustrator that includes one 50mmx50mm cut-pathed shape.
| First Letter of Last Name | Shape |
|---|---|
| A, B, or C | Triangle |
| D, E, or F | Nonagon |
| G, H, or I | Dodecahedron |
| J, K, or L | Pentagon |
| M, N, or O | Circle |
| P, Q, or R | Hexagon |
| S, T, or U | Rectangle |
| V, W, or X | Octagon |
| Y or Z | Square |
Examples
- if your last name is Jimenez, you will cut a Pentagon.
- if your last name is Walters, you will cut an Octagon.
🚨 NOTE! Refer to Preparing-Illustrator-for-Laser-Cutting.pdf for annotated screenshots and helpful tips.
- Set your artboard to match the size of the laser cutter bed 32“ wide x 18“ high.
- Your Illustrator units of measurement should be millimeters.
- Use a lefthand and bottom guide in your Illustrator file to align your design with the bottom-left of the laser cutter bed with a little bit of margin.
- Use the shape assigned to your name in the table above.
- The shape should fit within 50mm x 50mm dimensions.
- Your outline must be set as hairline stroke of 0.1 px in the designated RED rgb color. R = 255, G = 0, B = 0. The ULS Laser Cutter will use this as the laser’s cut path.
- Your file should be saved as firstname-lastname-lasershape.ai file.
2. Prepare the Equipment
Before running your job:
- Power on the fume extractor.
- Power on the laser cutter.
- Load and secure your scrap piece of acrylic material on the cutting bed.
3. Run Your Job
Did you prepare the equipment (extractor on, laser on, material loaded)? If not, do so now. If so, great!
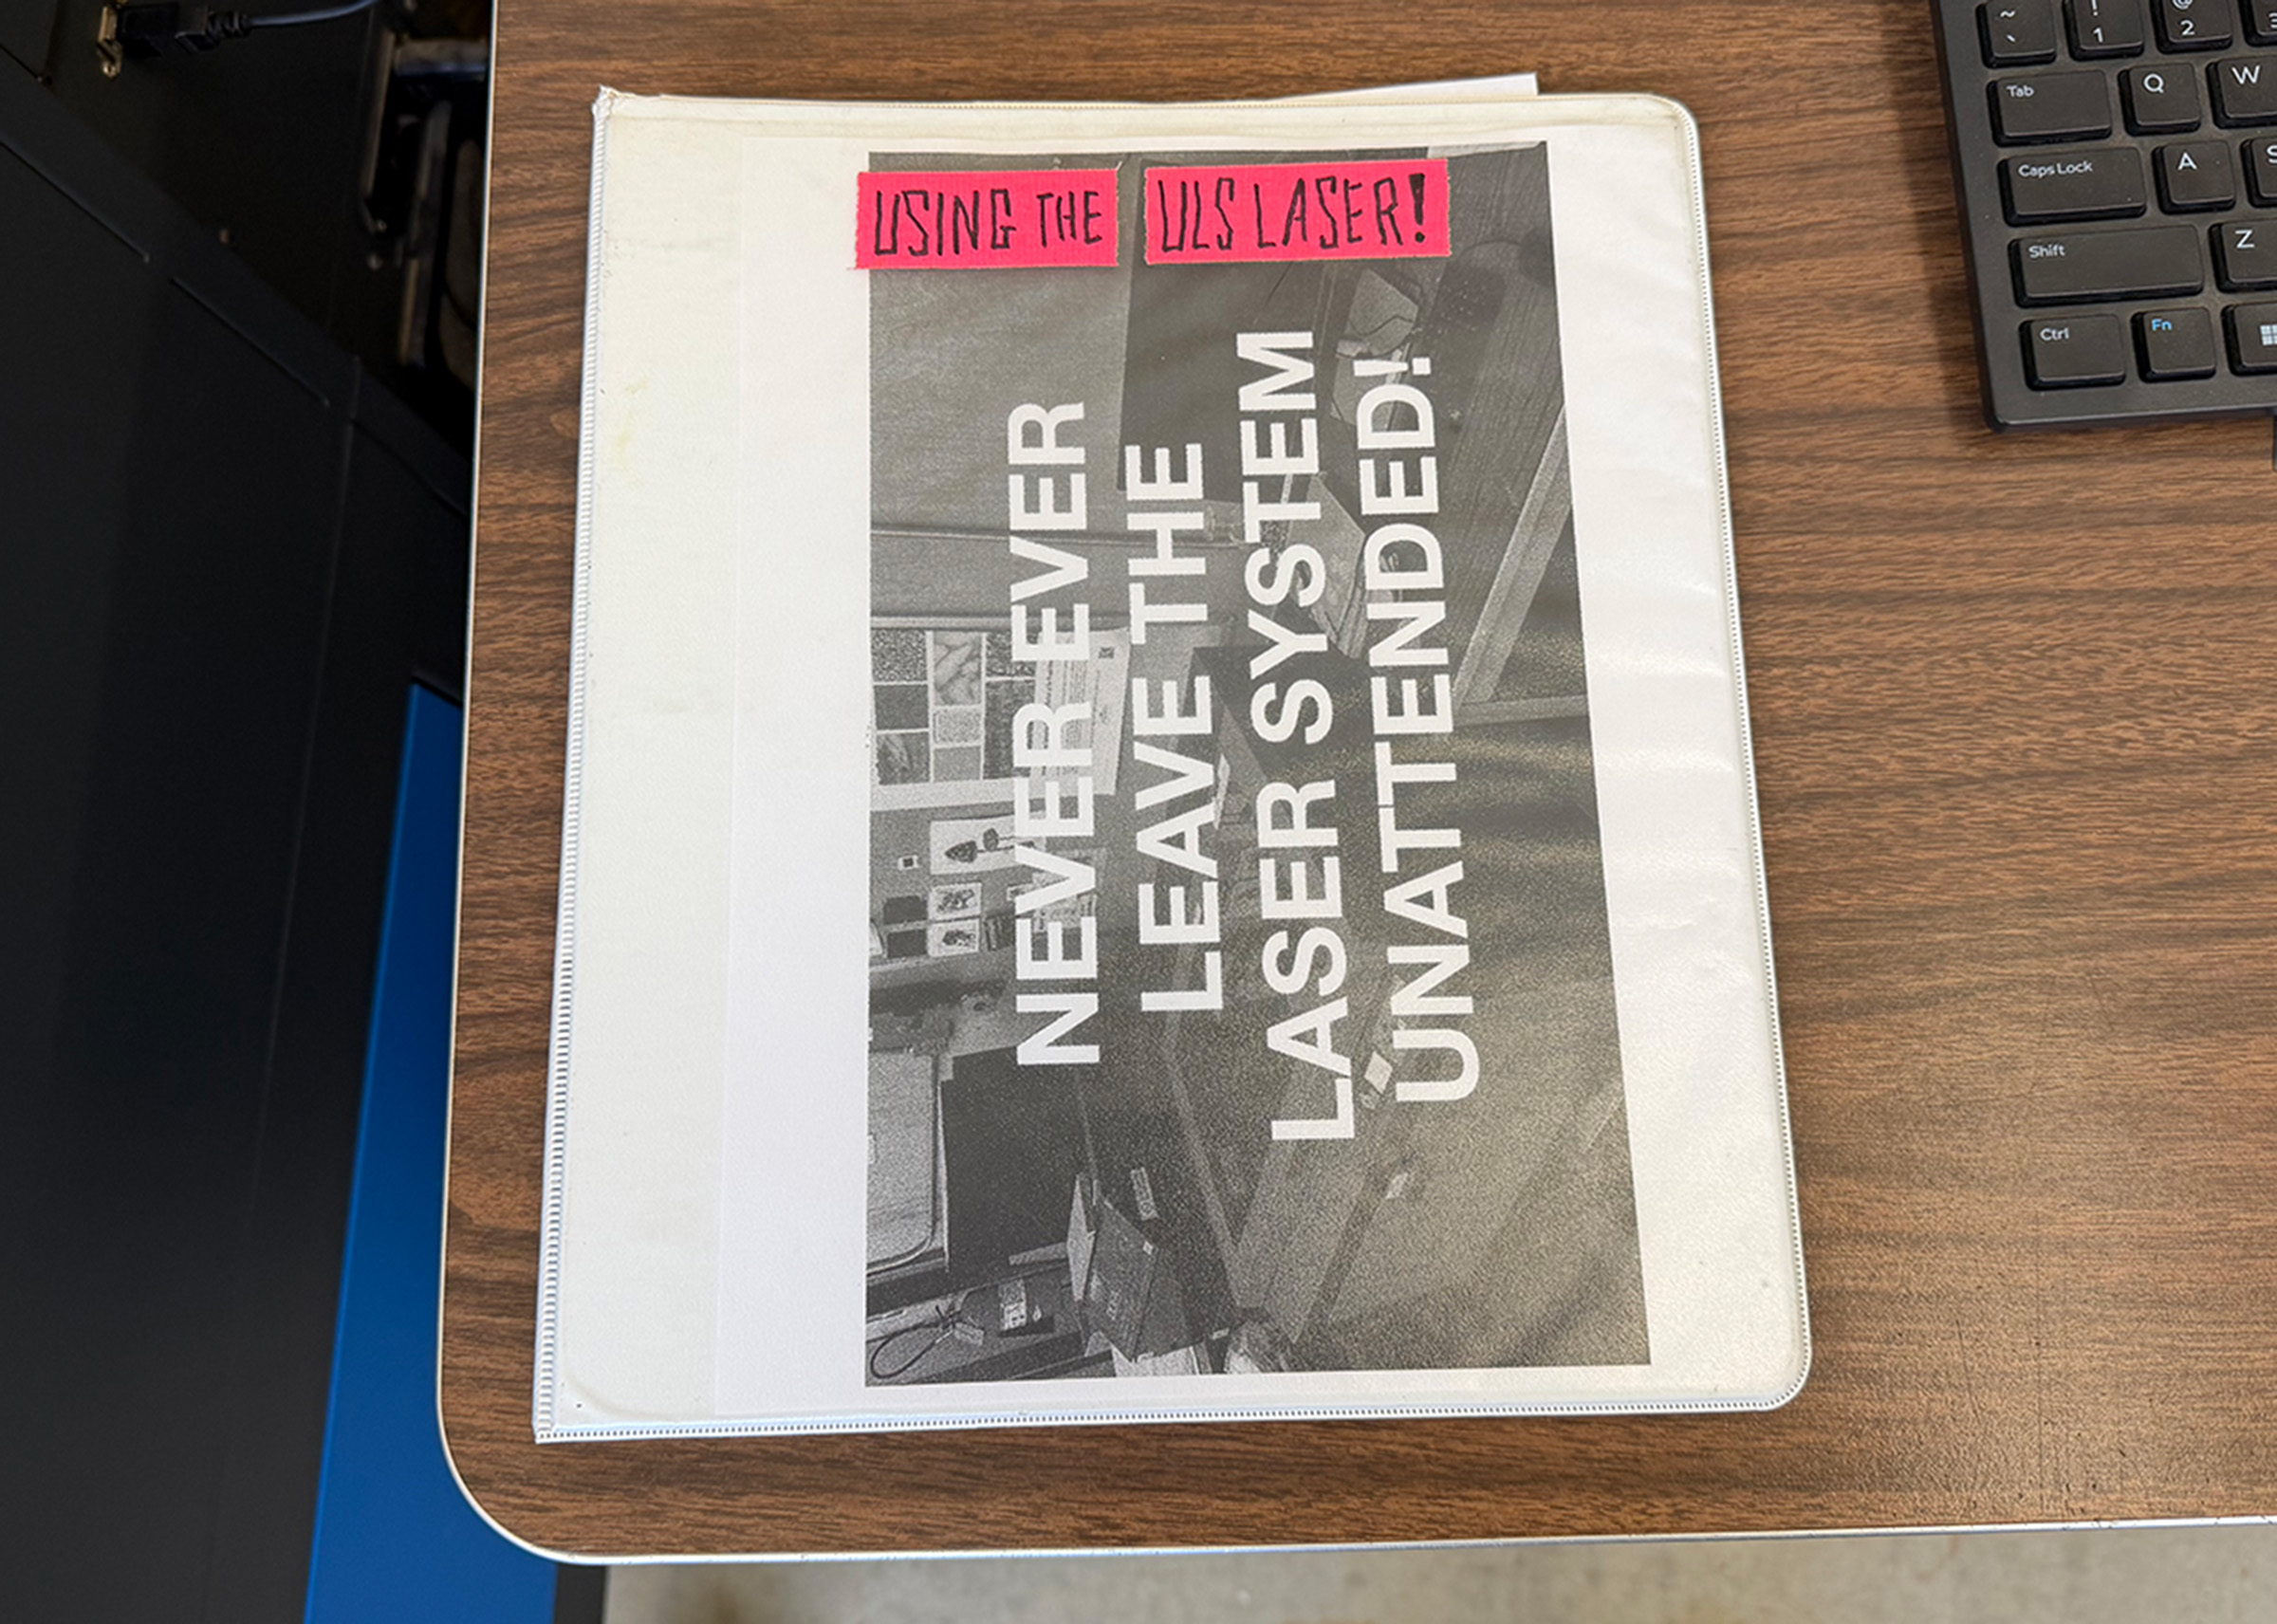
- Stay present and attentive while the machine is running. DO NOT EVER leave it unattended.
- Print your file to the laser cutter. Once the file is received you will see a FILE option on the laser cutter’s screen
- Use the FILE menu on the laser cutter to set the correct speed and power settings for your material. For acrylic, this is typically Power = 100% Speed = 4% but always run a test job to confirm settings before running the actual job.
- Typically you will always want to run a test job to confirm settings before running the actual job. This will help you verify that your material is loaded correctly and that the laser cutter settings are what you want. But for this project your test cut is a small, simple shape so you can quickly verify that your settings are correct.
4. Finish
Once your piece is complete:
- Clean up any residue or char on the edges of your cut.
- Remove any masking tape or other material from the acrylic surfaces.
- Ensure you remove any remaininng leftover materials from the laser cutter.
- If nobody else is in line to use the laser cutter, power down the equipment.
- Save your file before closing Illustrator, close Illustrator and log out of the computer.
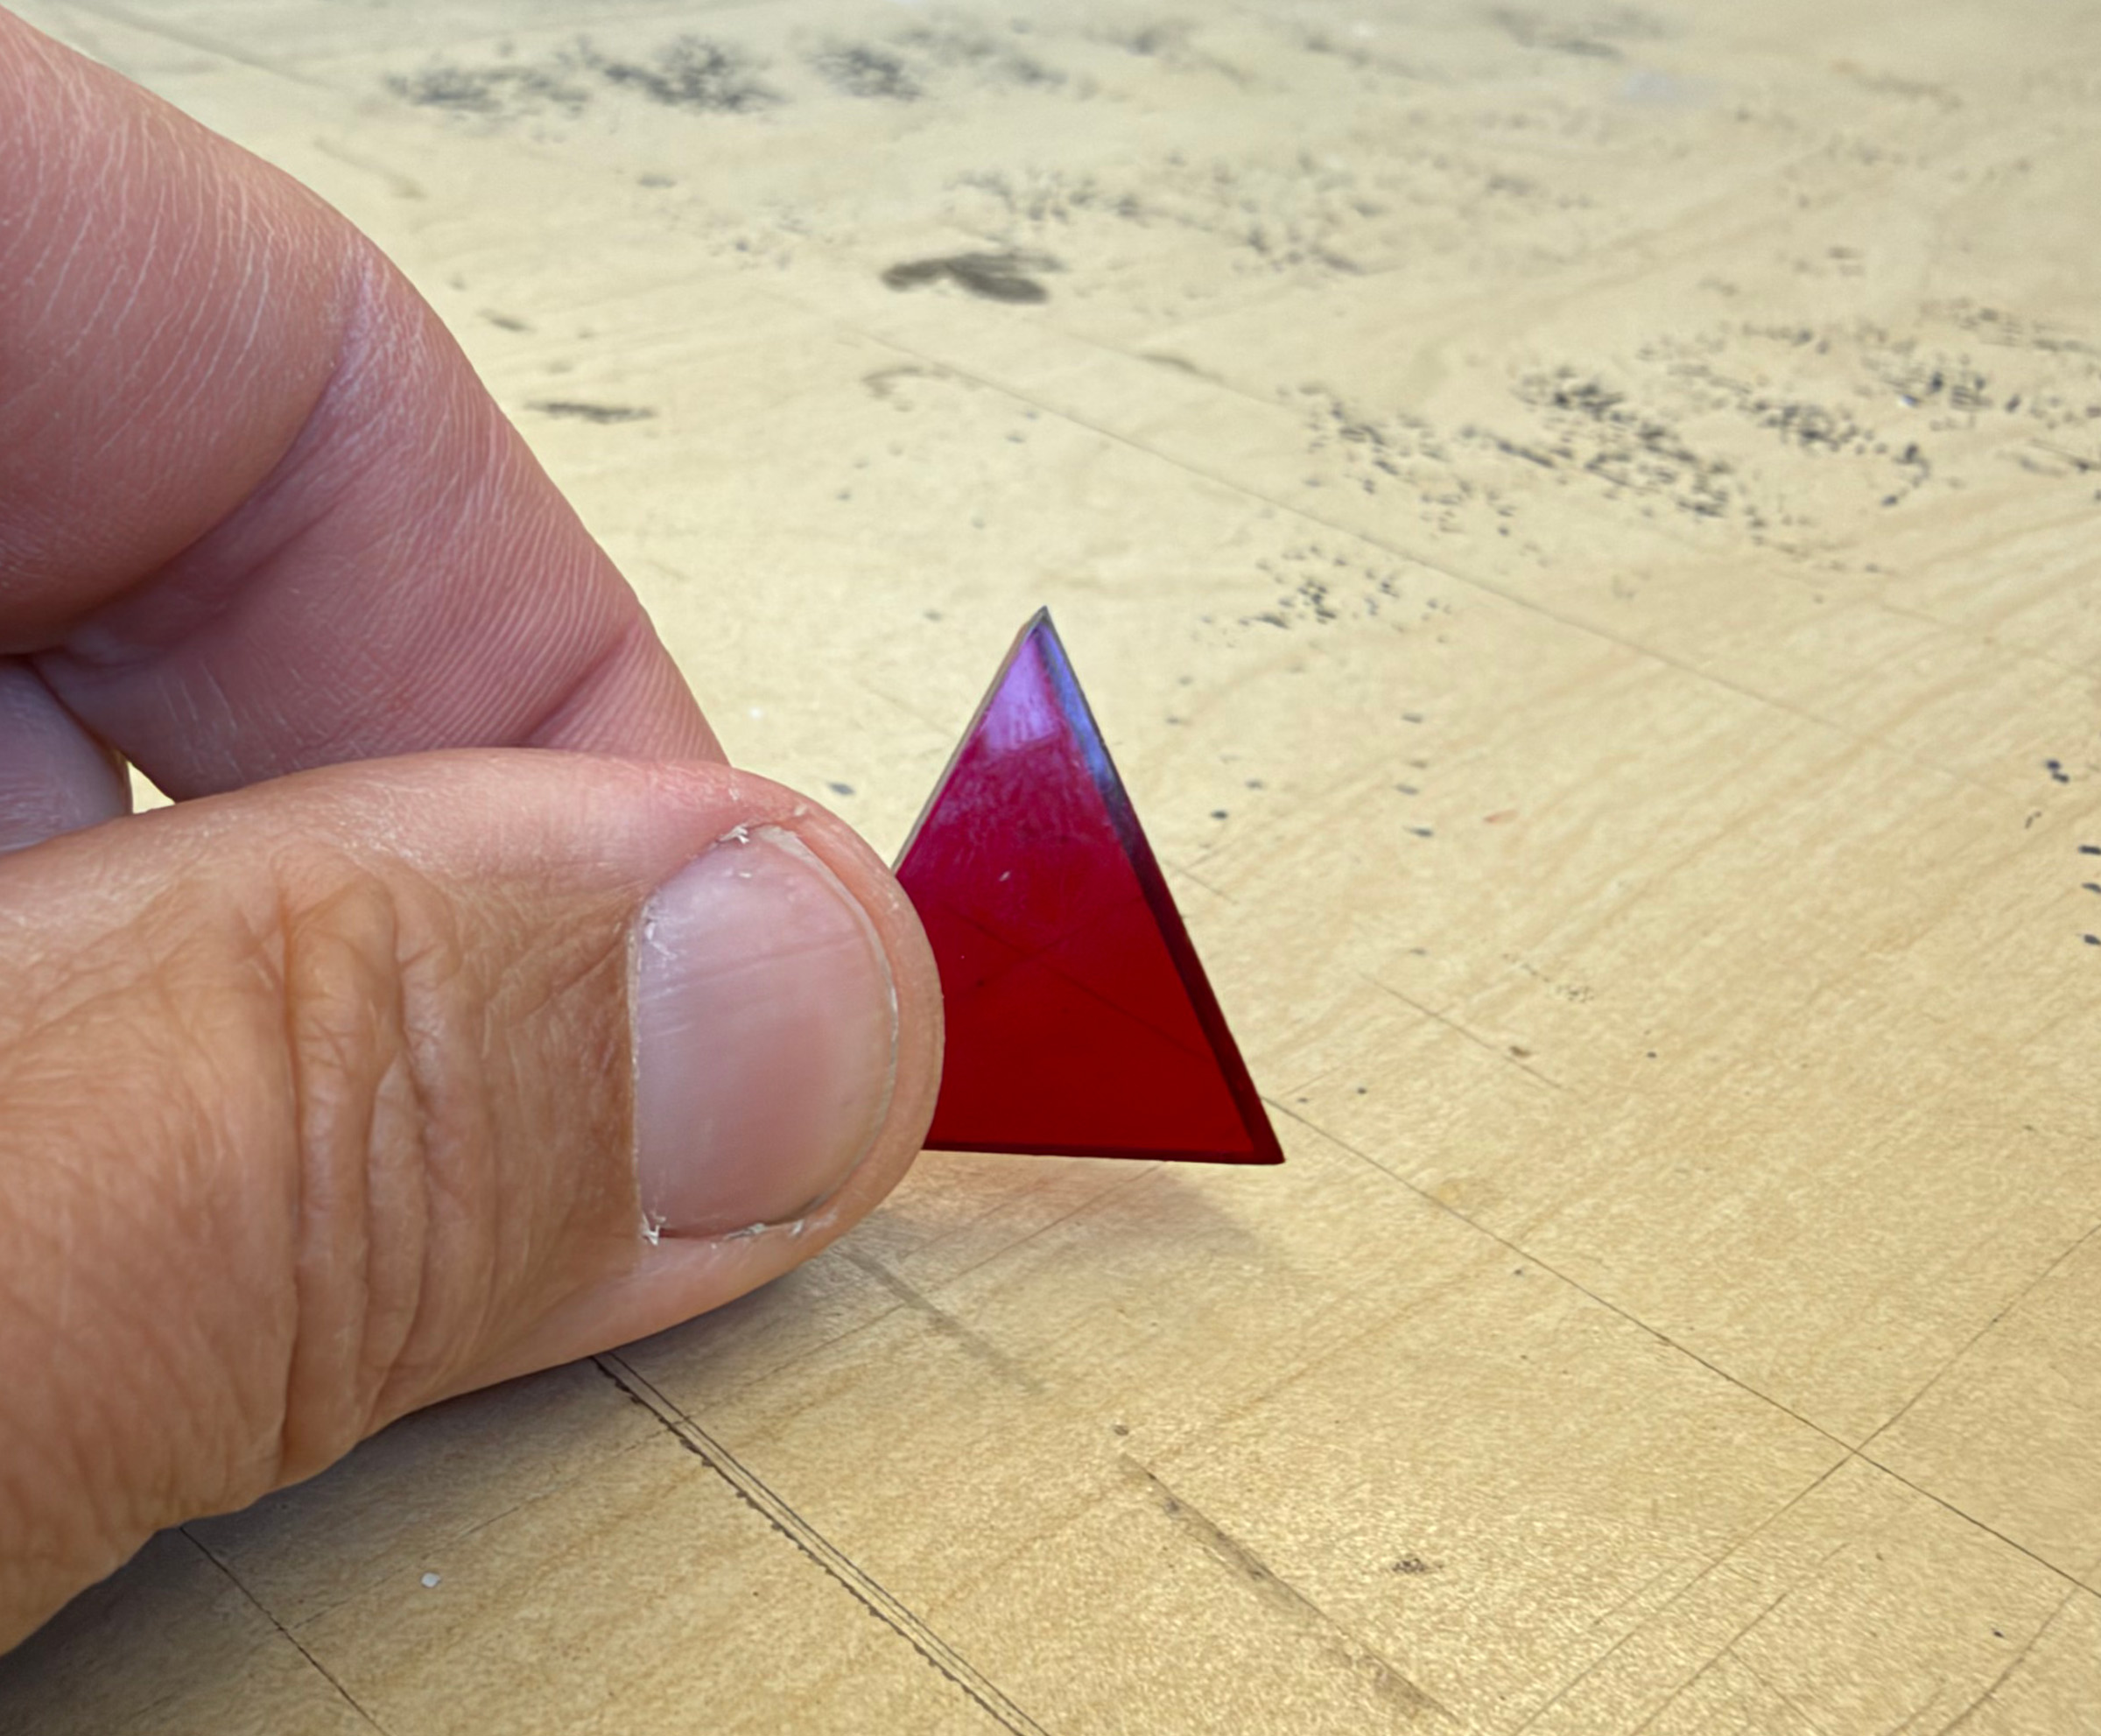
- Take a landscape orientation photo of your laser cut shape and include it in the zip archive you will upload to Canvas.
Schedule
Introduction Day
Overview of laser cutter safety, materials, and software. Begin designing your file.
Work Day
- Finalize your design file.
- Run your cut using scrap acrylic from our scrap stack.
- Take note of the settings you used! You’ll have them in your back pocket next time you run acrylic.
Upload a zip archive file to Canvas that includes 2 files
If you need help making a zip refer to Apple’s guidance or Microsoft’s guidance.
Name your zip archive firstname-lastname-laser.zip, include the following files:
- your Illustrator firstname-lastname-lasershape.ai file with correct artboard size, RGB color settings, rulers, guides, etc.
- a landscape-oriented photograph of your laser cut shape.
Rubric
| Criteria | Points |
|---|---|
| File prepared correctly (cut vs. engrave layers, correct artboard size) | 1 |
| Shape is the correct dimensions | 1 |
| Photo of finished piece is uploaded to Canvas | 2 |
| Total | 4 points |